Showing posts with label furniture. Show all posts

Wednesday, August 25, 2010

DIY Master Suite Headboard.....yes, again.

DIY headboard

My poor husband must think I'm crazy. I love change. Maybe I'm addicted to it? We've lived in our house for about a year and half now. And our bedroom has changed probably....at least four or five times, and that depends on the degree of change. If you count everything...its probably more like twenty.
Well. A week or so ago. I got one of those visions in my head. Don't you just love them? And I couldn't get it out. I knew I wanted to change up the master bedroom a little. I already painted all my furniture. But my vision was telling me that this change had to be more dramatic.
And so....it starts.

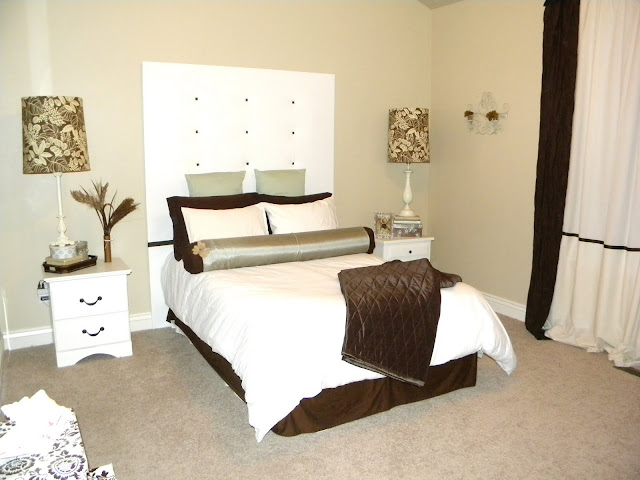
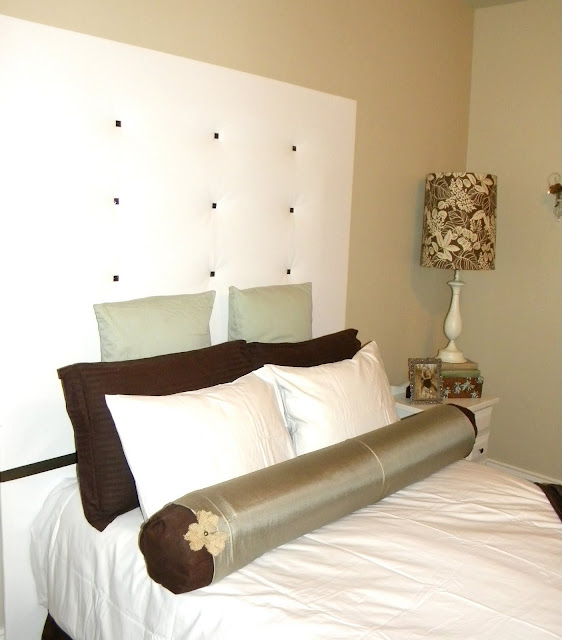
Here's where its at so far. Yep. That would be my 3rd....yes, t.h.i.r.d....headboard in a matter of a year in a half.

But isn't she a beaut???
Brown and White Bedroom

I followed the same steps when making this headboard as the now 'retired' one I did in this post.
It only took me an hour to upholster once I got the base how I wanted it. don't you just love DIY headboards.....or DIY anything :)
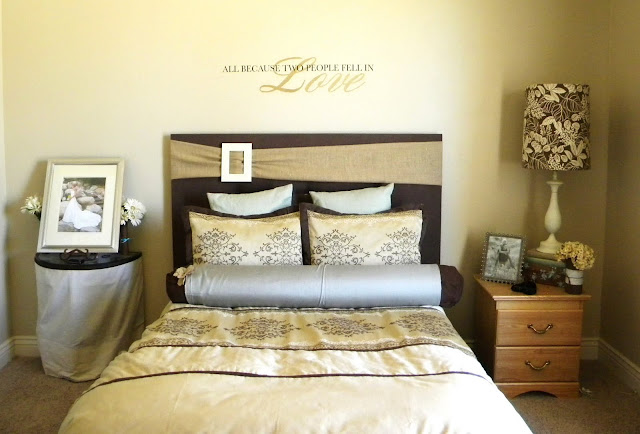
Here's the original headboard....and thus, essentially, the before - before picture of my bedroom:

DIY Headboard

And making progress with the nightstands:
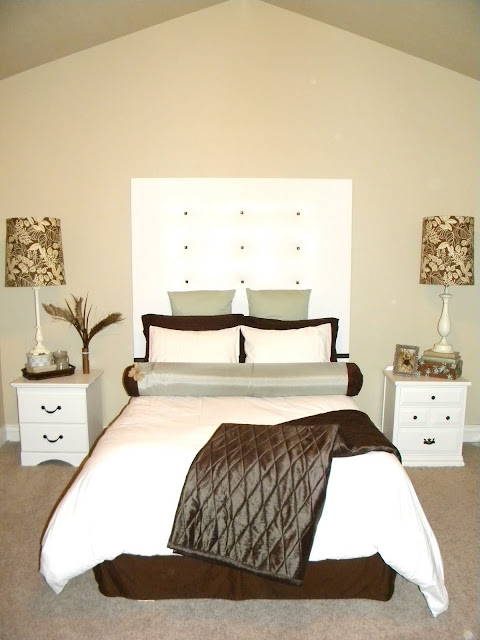
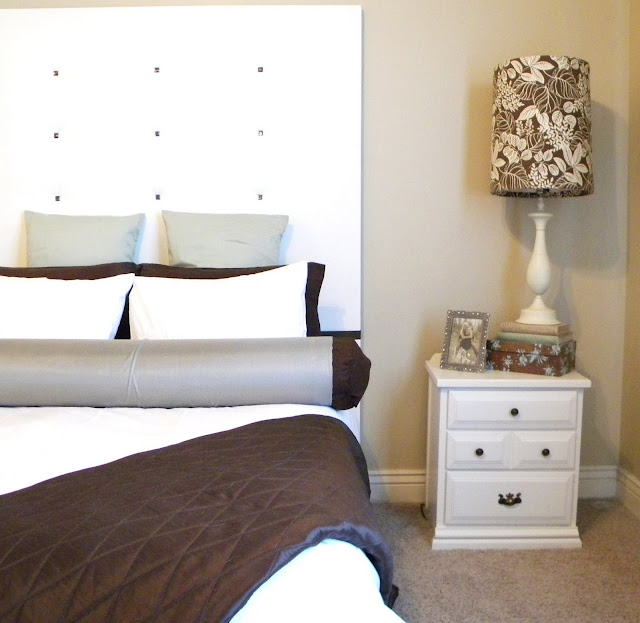
And after! Voila:
White DIY Headboard
All in all....I think it is a good change.

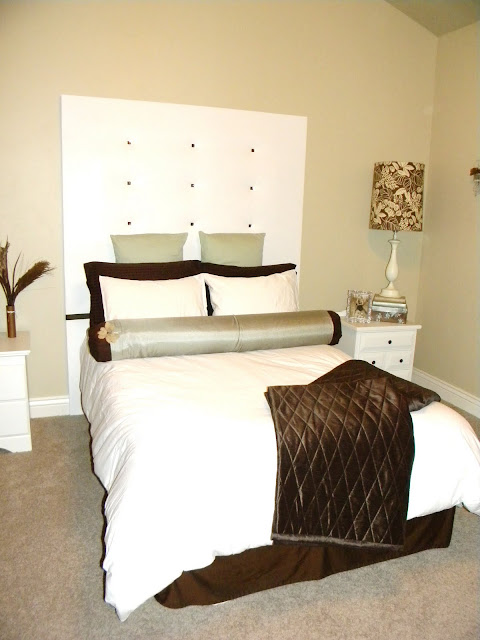
And of course....I had to make it dramatic. Its 80 inches tall, thats six and half feet!

DIY Tufted Headboard
And faux white leather.

I got the fabric half off, so all together, this baby only cost me $30 to make!

DIY Headboard
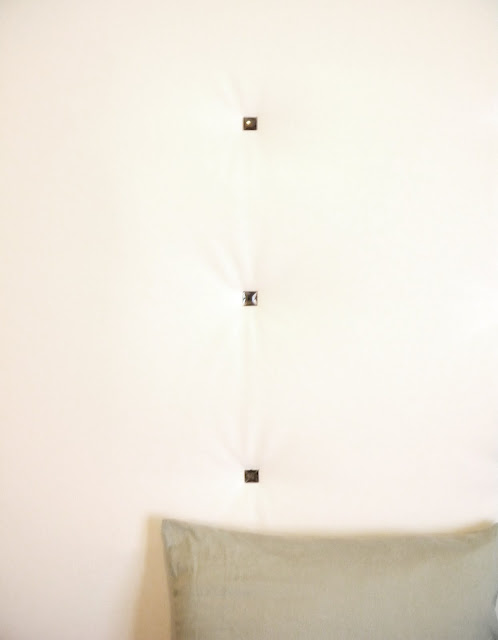
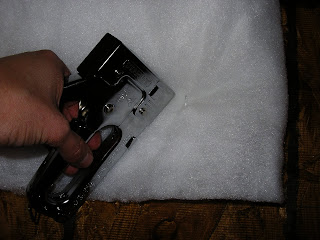
I tufted it simply by aligning 9 points and stapling them with a staple gun.
Then got my hot glue and glued on some bling!

tufted headboard

Now for more drama!!! My beautiful tan walls are now going to be colored mocha!
My curtains are coming down, and new ones are going up... and I'll actually have art on the walls! I'm so darn excited!!! ......sorry babe :)
Alicia

Read More

Tuesday, August 10, 2010

Wine Rack Towel Holder

I absolutely love the idea of using things for their unintended uses. Like plant stands for nightstands or end tables. Or topping a big pot with some wood/cement/door/whatever and make a really cool outdoor table. Door or shutters as a headboard. Sheets as window treatments, etc.

Well. Here is my new unintended use item:
Use an old wine rack as a towel holder
Yes. That would be a wine rack as a towel holder. See, before, my tub use to look like this -full of towels:
And thats not at its worst...at least this is somewhat organized....and the towels are folded :)

I used to have a basket under the sink for our towels. But, my husband could never remember they were there. I guess, out of sight out of mind. So, they migrated to the tub's edge. Which was fine cuz it was a cinch to just fold and throw them there. But it was an eyesore. Albeit, a behind the door eyesore. But I knew it was there.

And then I found this baby at the thrift store. For $3. And a light went off in my head.
It got itself a paint job and a new purpose in life....
Use an old wine rack as a towel holder
...to organize my towels.
I'm thinking that I like this new look...and it frees up the tub! Can't beat that.
Use an old wine rack as a towel holder


Read More

Saturday, May 29, 2010

Decoupaged Plant Stand

So. I don't consider myself a paint genius. Not at all.
I spray paint.
That's what I do.
But something in me lately has gotten me to start 'painting' more.
I'm not sure...maybe I have sustained too much unknown damage from all the spray paint fumes and my subconscious is telling me to go easy on the spray painting.

Anyway.
So I found this beaut at the thrift store.
It was $10.
I'm not sure why I paid that much for it.
And I'm still not sure.
But what's past is past.
Maybe I was drawn to the nice oak color, gold accents and emerald marble.
Hmmm. No.
I think I bought it because I was excited about the possibilities!


So here's where my no-paint-expertise comes into play.
I went to home depot.
Bought some paint that I liked.
Thought that it was just like the other paint I had been using but a different color.
Huh. No. No, my friend.
Not all paint is created the same.
I somehow found myself with enamel.
Enamel??
I put on the first coat and am looking at it like, why the heck isn't it covering very much?
Twenty minutes later.
Why the heck is this not dry yet?
Why is it all sticky?
What is going on?
That's when I look at the paint can.
Ugh. Yeah. Enamel.
I have no idea what this stuff is used for.
But its definitely not to be used if you are an impatient person like me.

So. My poor body has now sustained more unknown damage from the spray paint fumes due to my lack of not looking...and reading carefully...before you buy paint saga.
(Side note: I'm pretty sure I'm really not sustaining any damage, just in case you guys are concerned).
So. I got this baby spray painted (cuz I had no idea how enamel worked, so I went with what I knew would work) and gussied it all up.

I'm not quite a fan of marble or green marble for that fact.
But I am a fan of decoupage and pretty paper with pretty flowers :)
Which is now the new top.
I haven't quite decided what to put on it yet.
But at least I have a place for it.


So. Question.
Do any of you use enamel? If so, what do you use it on? Cuz now I have a whole paint can full of it.

Alicia


Read More

Monday, February 22, 2010

Is there such a thing as too many pillows?

This may be completely rhetorical. But.....Is it possible to have too many pillows strewn about ones house?

I just found a picture I took of our living room shortly after we moved in and I'm kind of diggin the whole twenty pillow theme I have going on...(well maybe not twenty, but close).

This couch was soon replaced with a sectional....which I'm pretty sure probably had about 10 pillows on it itself, but when Christmas came we had to move the sectional out....talk about pain.the.butt. and bring this pretty fellow back in to fit our uber sized tree...

(I know, I know....don't mind the all to small rug, thats in the process of being fixed)
The tree's out....the couch is still in...the sectional has found a home in our front room because god knows I do NOT want to move it again. So for now....pillows or no pillows....actually I guess thats not the questions...a few pillows or many pillows? If I have many pillows, I figure if someone wants to sit down....they can always sit on the floor and let my pillows be. Any thoughts?
Read More

Wednesday, November 4, 2009

Headboard upgrade...for cheap!


DIY Headboard

I loved my bedroom before but it just always felt like something was missing....maybe color on the walls? Well, I'm not quite ready to take that big step, so as you can see below, I figured I would add my own color via a sheet draped over my headboard.

It worked for a little bit, until I got tired of the dang thing always moving. So, I made my own headboard sans moving the sheet :)

Supplies needed:
  • plywood cut to size (they cut it at the homedepot for you), 
  • 2x4s cut in half, 
  • brown sheet or fabric of your liking, 
  • batting, 
  • pretty decorative buttons, 
  • staple gun, 
  • hot glue gun, 
  • drill, 
  • screws, 
  • tape measure and so on...
I didn't want to spend a whole lot of moola on batting, which can be quite pricey, so I just folded the amount I had in half and stapled it in the center of the plywood. Click here to see what this headboard looks like with a lot more batting.


I then wrapped my $4 sheet (yes, it was cheaper than fabric and much wider) around the board and stapled it on the back side making sure the corners were crisp and it pulled tightly.
I just had to have the tufted look, but I wasn't going to spend the time and energy creating it for real....so, instead. I just got the good ol' staple gun out, measured the distances, and stapled down three times on two rows along the batting region.


I then used the hot glue gun and glued on some bling :)

Here's how I got it to stand up (this should be done before all the rest of the stuff goes on, of course). I made sure the 2x4s were at an equal height along the plywood and screwed them in with the drill in two places on each 2x4. =Not pretty. But they hide behind the bed anyway, so who really cares?
Here's the finished product:

And here's my new and improved room :)

Total cost of headboard? $16! By the far the cheapest and easiest way on how to make a headboard :)

UPDATE::::
I've made two more headboards since then using this awesome tutorial :)
A new, bigger one for my master bedroom (click here or on picture to see post)

And another one for a guest room (click here on on picture to see post)
Read More

Thursday, September 3, 2009

Plant stand side tables

I had the biggest problem trying to figure out what to put in our front room, mainly concerning the side tables...Ugh. I think I even lost sleep over this. Pathetic huh?

Below is a picture of a transitional phase...waaaaay.too.clunky. Am I right? Those tables took up just way to much space in my cute petite room.


I like to shop Ross/Home Goods/TJ Maxx...all those good cheap places. While on one of my trips I found the absooluuutley puuurrrrfect side tables aka plant stands :) A beautiful solution to my problem:
They take up hardly any space and bring some curves into a hard angled room. I just love them! Who would have thought? Plant stands as a dainty little table? Figures huh. Even better....they only cost $13 each!
Read More